When I became a mother 6.5 years ago, the amount of photos I took increased exponentially. When I became a blogger, I began to take even more photos. I didn’t think that would be possible. Good photography can make a blog and a blogger. My photography has improved a lot over the last 2.5 years that I’ve been a blogger but I’ve still go a long way to go. Learning and practising photography is always on my to do list and it always gets pushed to the bottom for more urgent priorities. I have a great camera and I really need to prioritise learning how to use it properly. Blogging aside, our photos and videos become our memories in the future. I want them to be the best possible photos they can be, as I’m sure you do too.
I regularly go to blogging events and conferences and whenever there are photography sessions I sign straight up to them. Recently I was invited to a ‘digital photography masterclass’ event for bloggers being held by Viking at the Botanist in Newcastle upon Tyne. Viking is part of Office Depot and as well as a wide range of stationary supplies, they sell printers, photo paper and ink. At the class, commercial photographer Elouisa Georgiou took a roomful of 32 bloggers through the fundamentals of photography.
Today I’m going to share with you some of the top tips and resources that I’ve learned from the Viking class and elsewhere so far through my blogging career. Heads up – these tips are going to be for total novices as I am by no means an experienced photographer!
If you can, get off auto and onto manual mode
Every single photographer I’ve spoken to so far stresses this point when it comes to DSLRs. And it’s the one I find the hardest. I’m always pushed for time so whilst I try and take photographs on manual, they still come out better for me on auto so I end up switching to auto. However, I’m not going to get better by doing this so after Elouisa’s session I’ve vowed to get better at using manual.

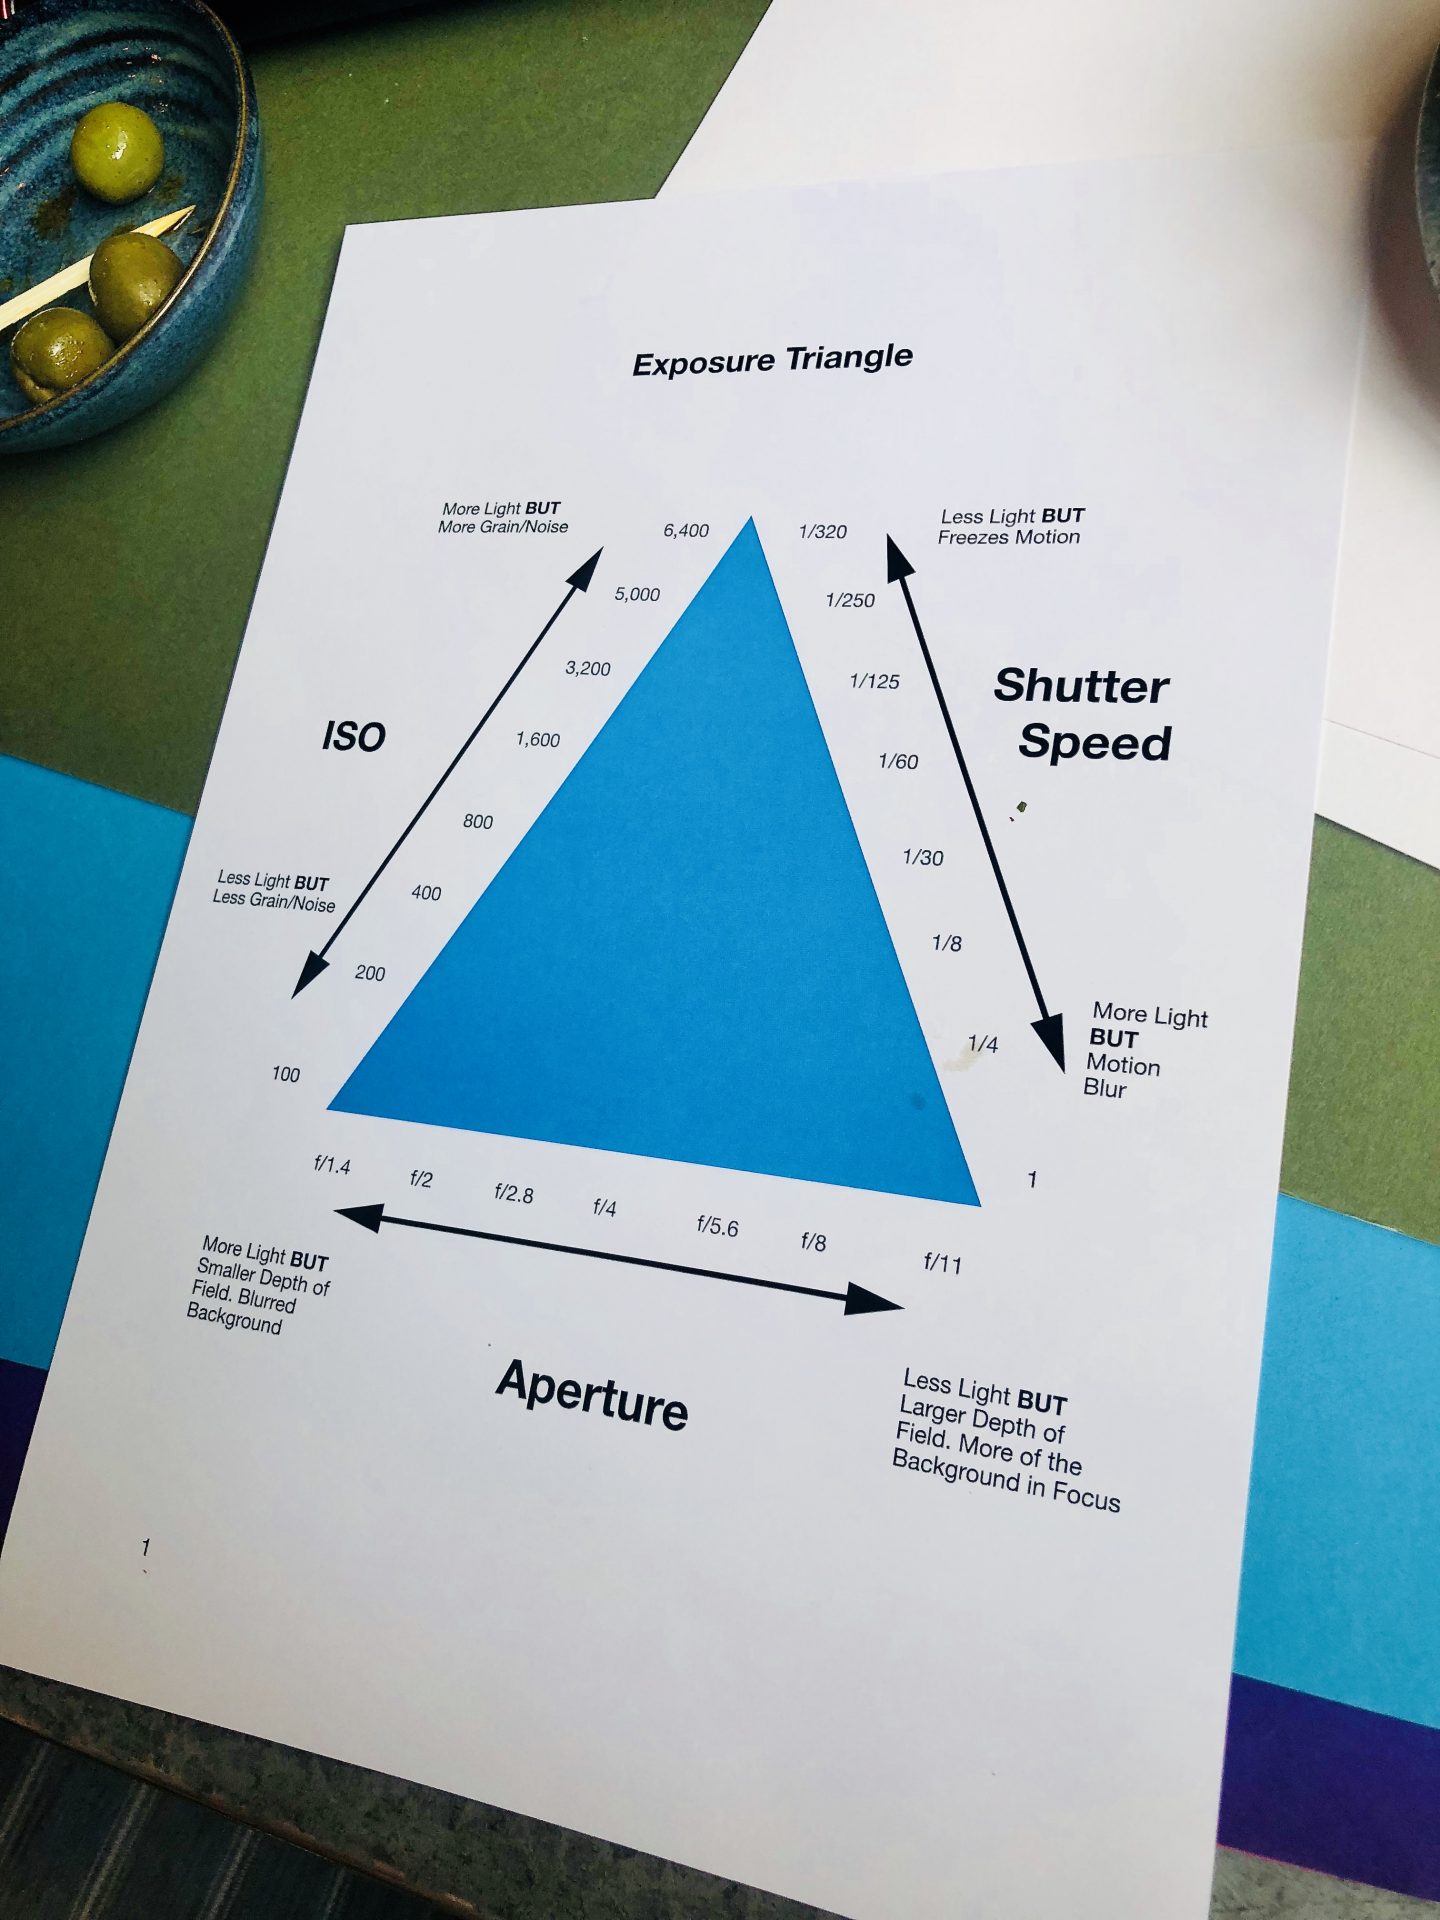
The exposure triangle
If you do take your camera off auto and onto manual then you need to know about the Exposure Triangle (shown below). According to Elouisa Georgiou…
“Shutter speed is how fast the shutter captures your image. To stop motion, you need a higher shutter speed number. To capture motion, you need to shoot at a lower shutter speed number to create blur. But a higher /faster shutter speed means less light is being let into the camera.
The lower the ISO, the less sensitive the sensor is to the light. The higher the ISO, the more sensitive the camera is to light. For clearer photos with as much detail as possible you need the lowest ISO possible.
Aperture/F-stop controls the depth of field. That is, the amount of the subject you will have in focus in the background/foreground of an image. A wide aperture (f/2) or a low F stop has a softer focus of the background, letting more light in as well as creating bokeh (blur) to the background. A narrow aperture (f/22) or a higher F stop has more in focus in the background and lets less light in.
Getting a clear and attractive image is about balancing all three of these without sacrificing one another.”
Natural lighting is everything
Another thing every photographer tells me is to always use natural lighting wherever possible. Don’t use the flash. Push objects to the windows. Turn off lights indoors if possible. Use natural reflectors in the room to bounce light where you need it. For example, white paper/card or foam boards. You can surely relight and brighten a picture in post processing, however it is always easier to take care of that when shooting.
Use online tools to learn
One of my favourite online photography learning resources is a year with my camera by Emma Davies. It’s a free online photography course where you get sent a lesson once a week and then get the week to learn and put the lesson into practice before the next lesson arrives in your inbox. There is also a linked Facebook group for support. I’ve signed up to this but yet again, keep not making time for the lessons. It looks great though and I know I’d learn a lot if I actually did it.
Handy products
A tripod (affiliate link) is a great tool to have if you are taking photographs of still products. This means if you don’t have much light you can shoot at a lower shutter speed to capture your image without the motion blur. They are perfect for ‘flat lays’ (that means when you shoot a bunch of products styled together from above). Lots of bloggers use these beautiful backgrounds by Capture by Lucy for photographing their product shots. Lights, prisms and paint powder (affiliate link) can also make for interesting photos.
Edit your photos
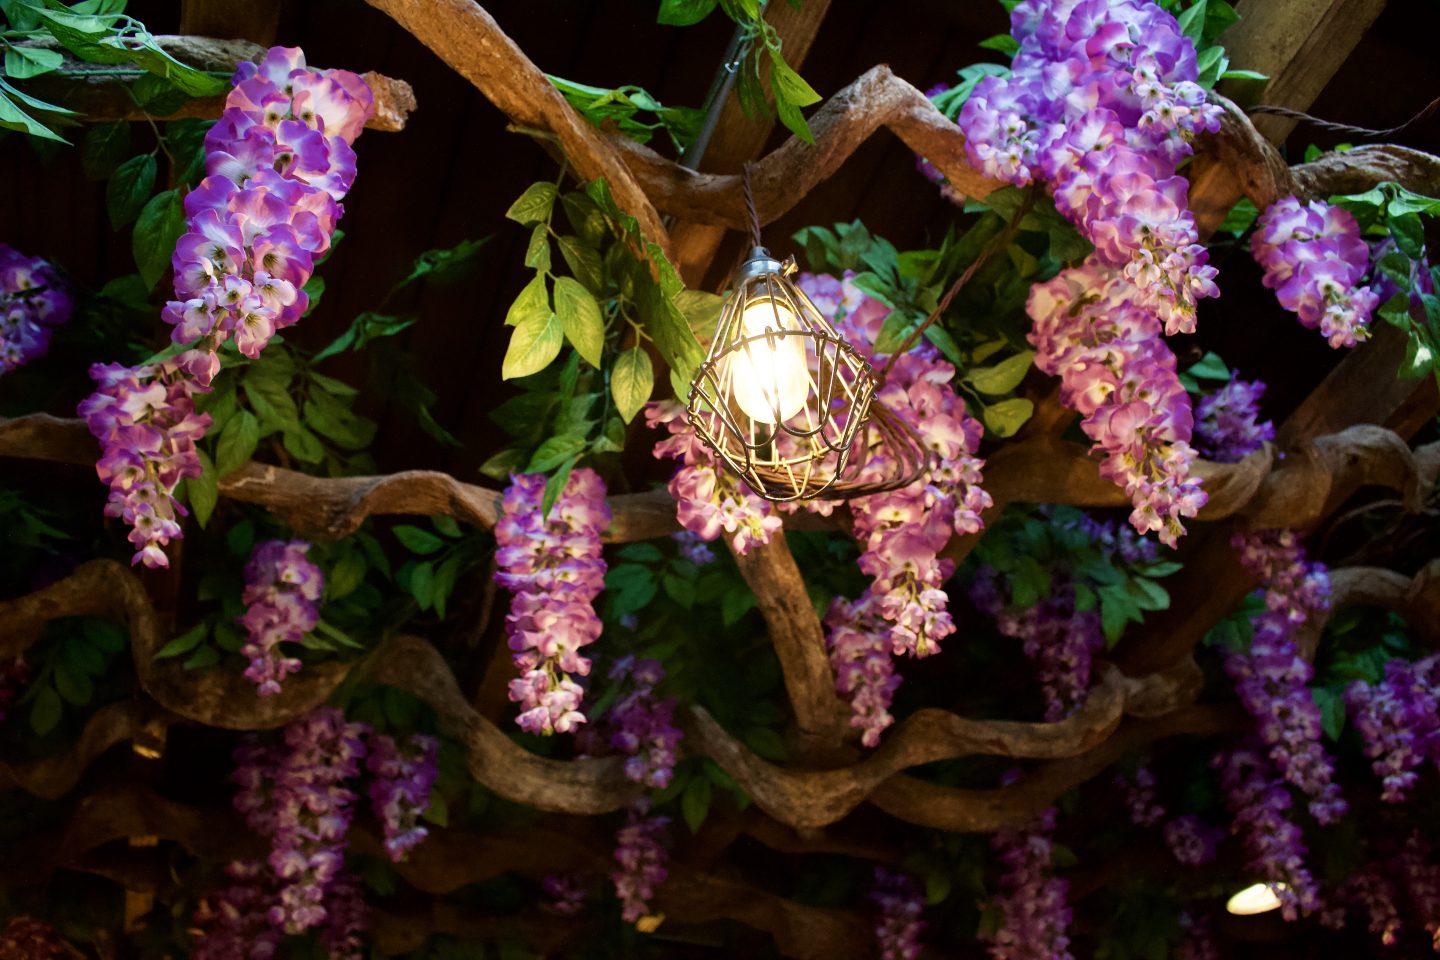
Even great photographers edit their photographs afterwards, usually using Adobe Photoshop or Lightroom. There are other easier things that you can use too though if like me, photoshop overwhelms you. If you are an iphone/Apple person then clicking edit on your photos will allow you to play with the light, warmth, sharpen your photos and add filters. Apps like VSCO, pic monkey and a Color Story are also popular. Of course you can always use Instagram to edit your photos. Even if you don’t want to post the image you can pop your phone on airplane mode to edit and then have it save to your phone without the image actually posting. These days though, top Instagrammers will edit in Photoshop/Lightroom and/or VSCO etc before then adding the photo to Instagram. Me&Orla has a great beginners guide to VSCO here.
Think about what else is in shot
Always think about what else is in your shot. This may be things or people in the background that you need to move. Or it might be things you want to add into the shot to make it a bit jazzier. One thing bloggers love to do is use props. Many have a prop collection just for taking photographs or will go out to buy props for a shoot. Le Coin de Mel taught me that you can simply go around your home collecting items of a certain colour palette to put in a shot to make it look that bit better (click the link for a great blog post all about how she does this).

The rule of thirds
The rule of thirds is a well known rules of photography composition. The rule of thirds breaks the image down into 9 squares. Then it helps you focus your images on the intersections where the eye is most drawn to naturally. You can read more about it and see some examples here.
Ok, so that’s pretty much the sum of what I’ve learned in 2.5 years! I hope you find these tips helpful. As you can see, I’ve barely scratched the surface and have a lot to learn but I’m going to keep pushing myself and hopefully you will see my photos improve over time as a result. Do you have any top tips or favourite products? Let me know in the comments.
Disclaimer: I attended a digital photography masterclass with Viking in exchange for this blog post. This post contains affiliate links. If you buy through an affiliate link you will not pay any more but I will receive a small fee for referring you. For more details on my disclosure policy, see my about page.
I literally never shoot in auto, I love playing with light and tone, I try to pick the brains of photogs I love as much as possible. Like Alex and Emily in pmuk.
I feel like I’ve found my groove in photos but also feel like there is so much more to learn! It’s such a fascinating subject.
Also love a bit of photoshop 😉
You are totally a natural at it, you always take lovely photos. I’m just starting to try on manual but it’s definitely not a natural talent for me – my mind doesn’t work that way!
We should get together and do some playing/shooting!
That sounds great!
Some handy points! I think it’s important for people to spend time playing with a new camera, so that it’s familiar when they take it out. There’s nothing worse than missing a shot because of not knowing how it functions.
Totally, I’ve been caught out by that so many times!!!
Some great tips. I love AYWMC too. I did a couple of online courses, but Emma’s is really simple to follow. I admit I have the same time issue as you finishing courses though!
I’m pleased it’s not just me!